Here’s a fun and easy holiday tree you can needle felt! This is great to do with kids.
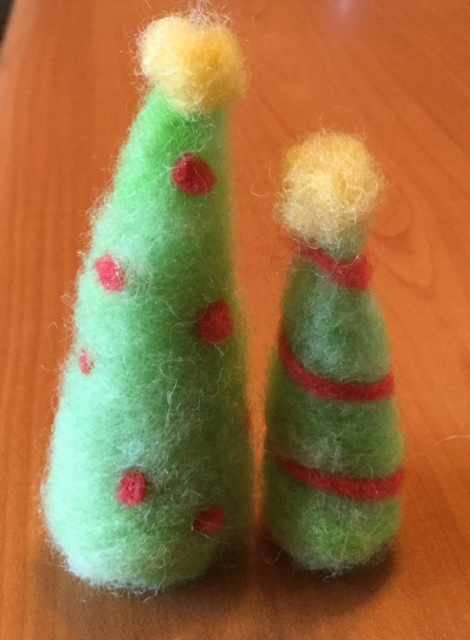
The finished tree will look something like this, but you can be creative. If you add a string, it will be the cutest ornament. Enjoy!
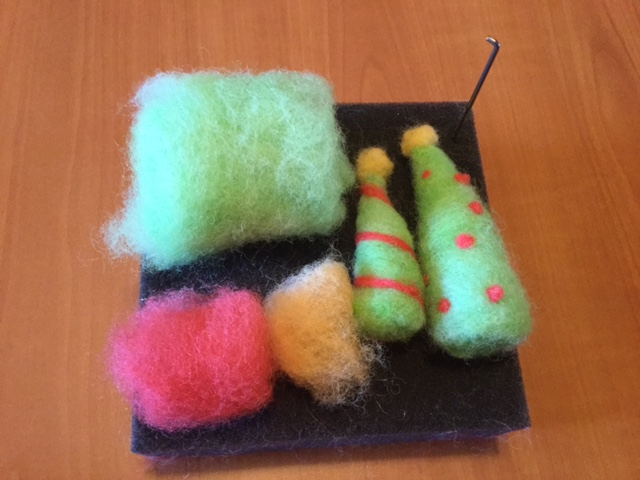
Materials you will need: Green, red, yellow wool, felting needle, and felting foam. If you have white wool, you can easily dye it with Kool-Aid 🙂
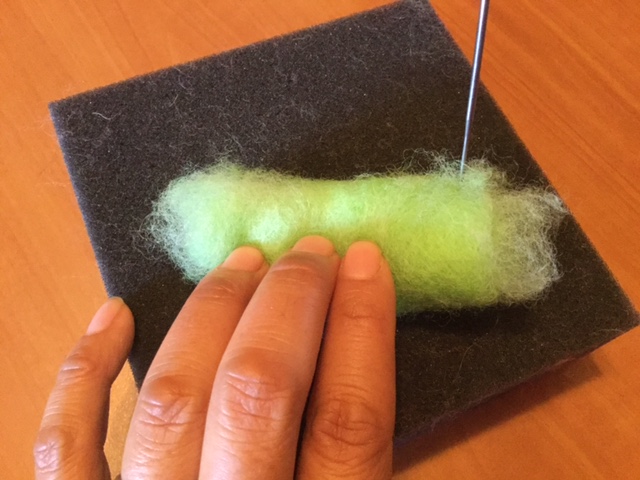
The first step: Roll your green wool into a cone shape. The easiest way to do this is by layering the bottom a little thicker. You can also fold the bottom so it is thicker.
Poke the seams to secure the shape.
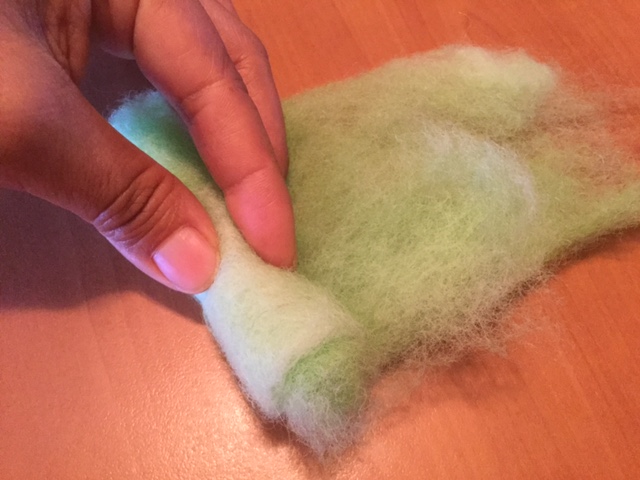
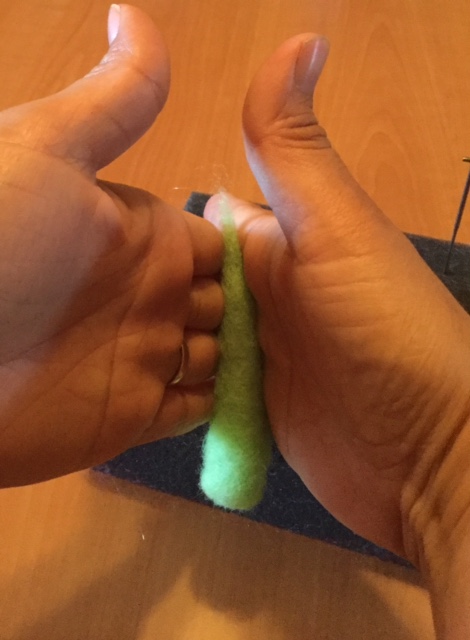
To get the pointy end of the tree, roll your wool between your hands. You want to focus on the top part of the tree and shape it with your hands. Very cool and quick way to get the tip.
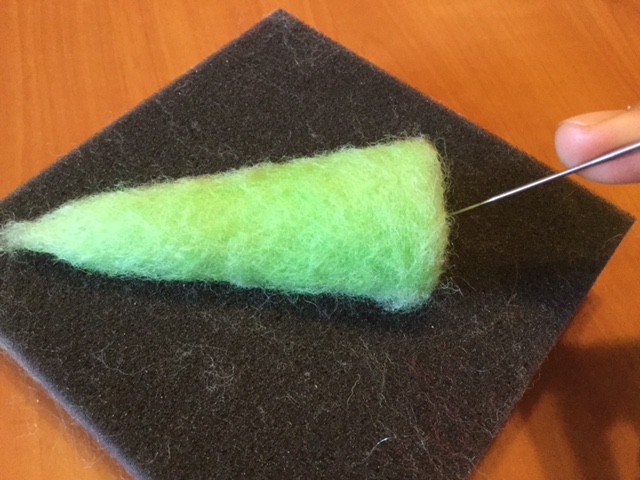
Next, poke the loose fiber on the bottom to make it flatter.

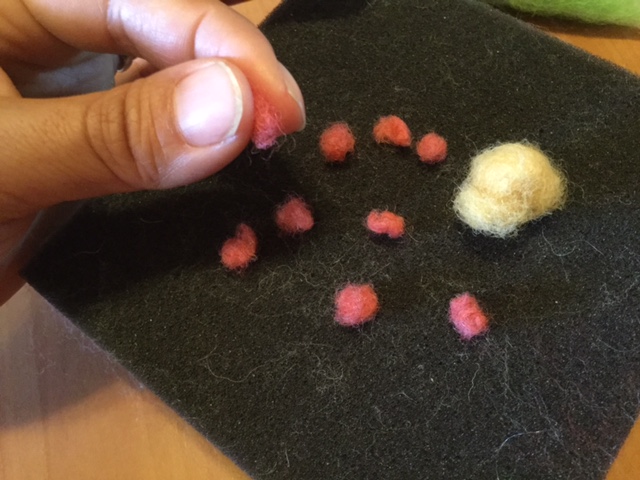
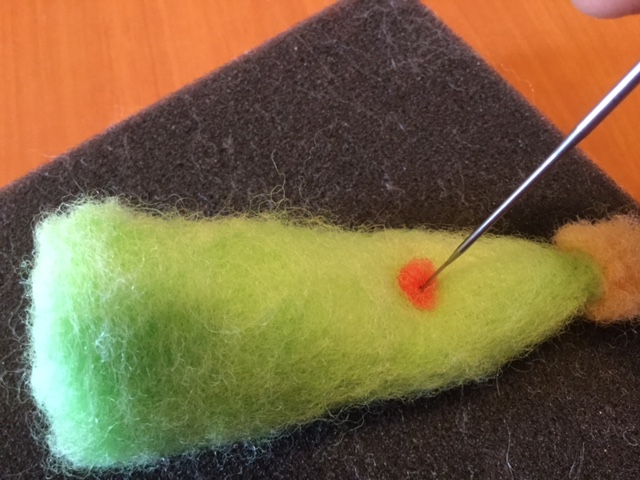
Put your tree aside and roll a small piece of yellow wool into a ball. Do the same with the red wool but make them smaller.
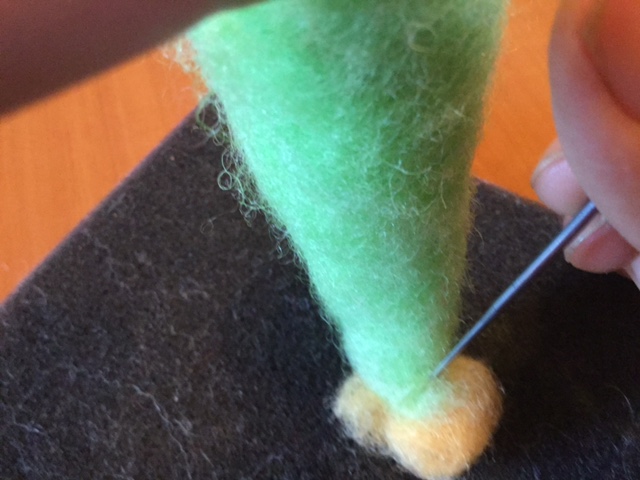
Attach the yellow ball to the top of the tree. Put the tree upside down on top of the yellow ball and poke.
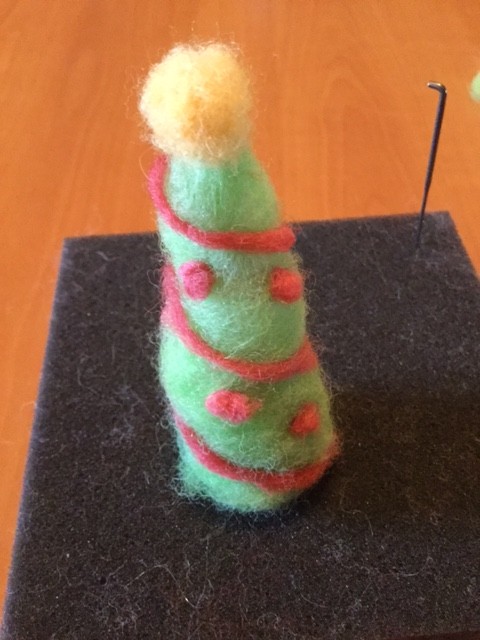
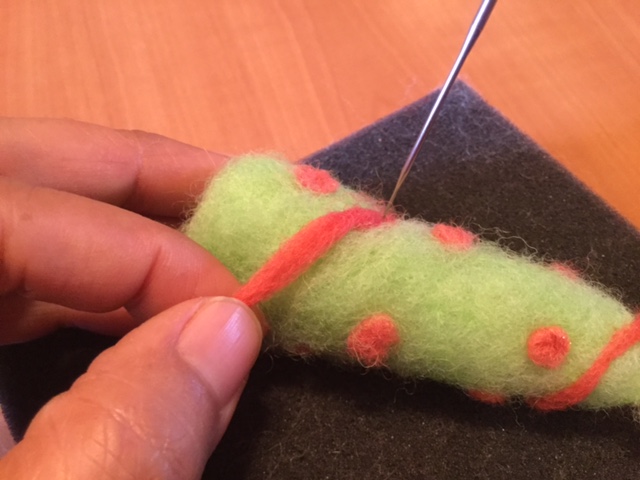
Add the red balls and decorate.
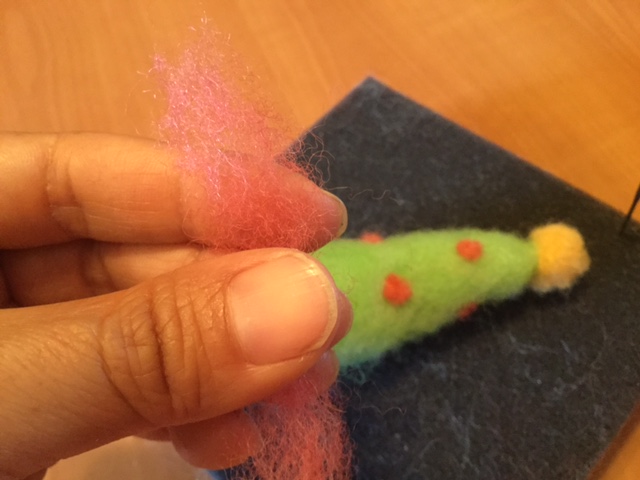
You can be done with your tree at this point. For more decoration, take a little piece of wool and roll it to make a small string.
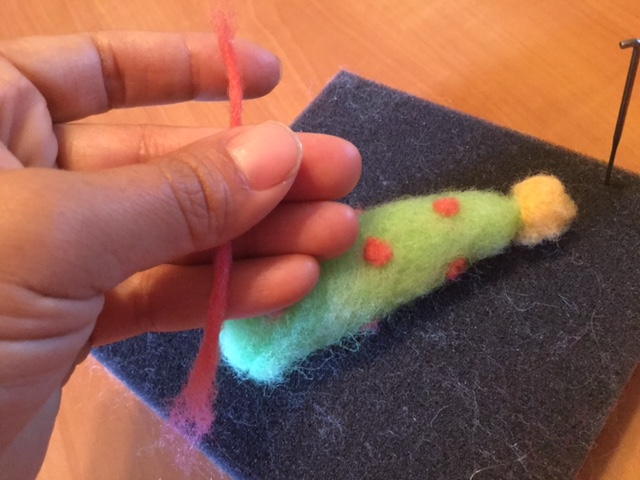
Poke in place. You may need to make a few strings.
Tada~! Happy Holidays!